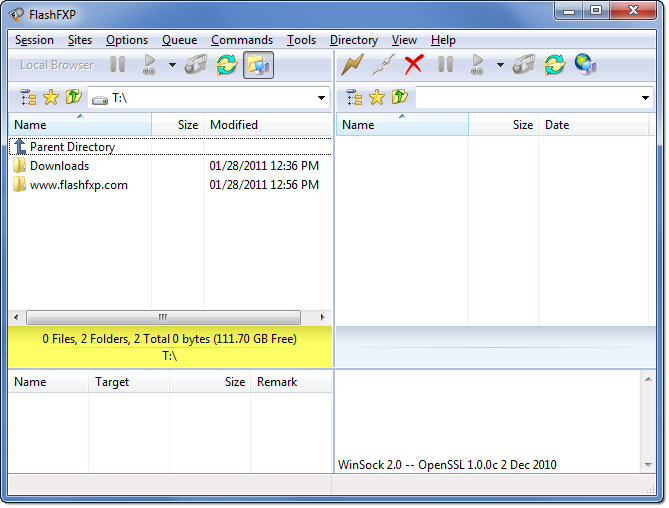
FlashFXP TutorialsTutorial 1: Creating a new siteWhen you first start FlashFXP from the start menu, (Start - Programs - FlashFXP) you get a window like the one here below. 
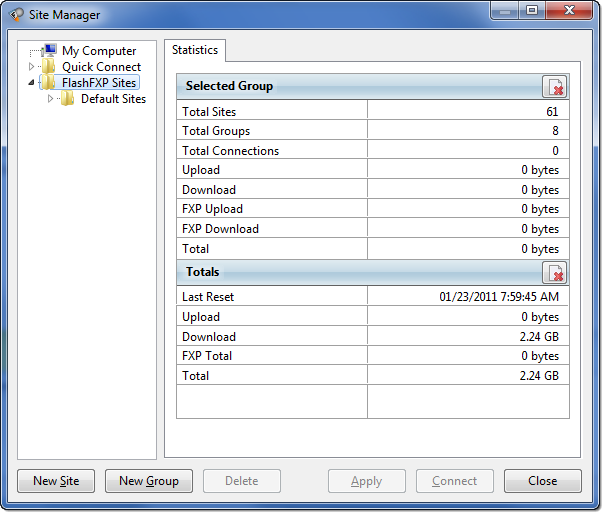
As you can see it's pretty empty, so the first thing we are going to do is to create a profile for your site in the Site Manager. To open the Site Manager press the F4 button on your keyboard or go to Sites - Site Manager on the menu. 
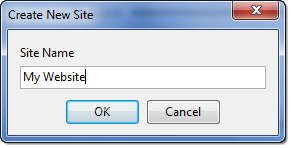
In the site manager you can add your sites for easy access. You can add as many as you like and arrange them into groups. To create a profile for your website click the New Site button. 
For this example we will use my site, but you should of course enter any name you like. 
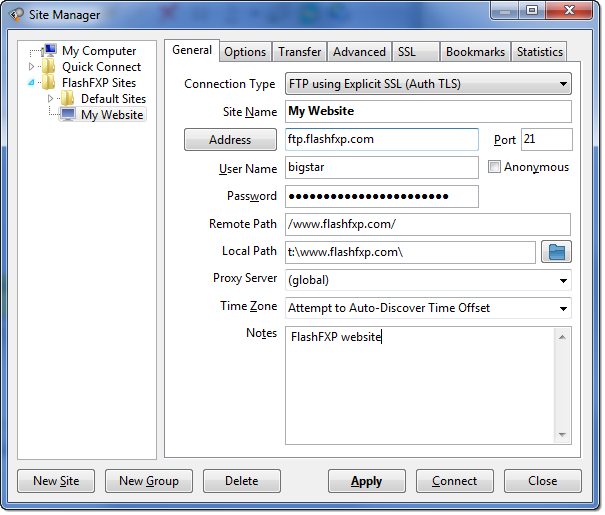
This site requires a Connection Type of "FTP using Explicit SSL (AUTH TLS)" so I will now change the connection type as shown below. In the Address field enter the domain name or the IP of your server. For example, I know that my domain name is ftp.flashfxp.com so I'll write that. Next up is the Port field. The default port depends on the connection type we set above. In our case the default port of 21 is fine and we don't have to change anything here. In the User Name field you must enter a username that will allow you to access the FTP server. For my site it is bigstar so I'll write that. The next field is named Password. Here you have to enter your password which together with the username will allow you to access your website. If you know that you are connecting to a site that is open to everyone, you can click in the Anonymous checkbox. When you do that, the User Name and Password fields will become disabled. These 5 settings are required to connect to any server.
Click the Apply button to save your site profile. |
Table of Content
|